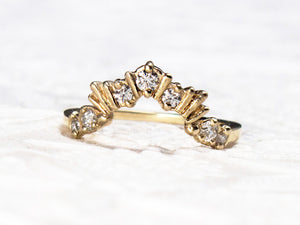
The Making Of: The Golden Hour Ring
Join me behind the jeweler's bench and see how the Golden Hour engagement ring is created. There are no computers involve here - just my own two hands!
1. Sketch
Like all of my jewelry, the first step is a concept sketch with old fashioned pencil & paper.

2. Wax Carving
Once I have the design nailed down, it's time for fabrication. I create my jewelry using an ancient method of jewelry making called lost wax casting. I hand-carve each piece out of jeweler's wax using small hand tools. A lot of them look like tools you might see at the dentist!


Wax Carving Stages for the Golden Hour Ring
And the hand-carving begins! The wax caving process for the Golden Hour started with a solid block of green wax. I first create the general shape and make settings for the diamonds. Once the head of the ring is ready, I create and add the ring shank. The prongs are always the last to be added. I use my hot wax pen to build up the wax and form the prongs. The final wax stage (ready for casting) can be seen in the fourth photo below.

3. Molding & Casting into Precious Metal
Once the wax in finished, I have it molded and cast into precious metal. The mold is saved so I can make this hand-carved ring again without having to spend hours and hours hand-carving it again.
4. Cleaning, Polishing & Setting the Ring
Once I have the raw casting in studio, there is still a lot of refining that needs to happen. I use a rotating hand tool called a flex shaft to grind off excess metal, refine the shape, & polish the gold. The seats are cut for the diamonds and they are delicately set in place.


Check out the video below for a quick view through the entire ring making process!
The final product is a treasure you can enjoy for decades and then pass down to the next generation.


